Not being able to post 99.9% of my daily work is proving quite difficult for my business. I am not able to show you what I do and what happens to the images after. Many images that ended up with awards or on a cover of a magazine, I am not able to post, or to even admit that I have worked on them.
Therefore, I took the liberty of finding free images on the net and retouching them, just to prove to people that I am still alive and to show you examples of what I do daily.
I know it’s difficult to tell, because I don’t post my work often, but I am a commercial skin and hair retoucher. I do mostly commercial hair images, some beauty images and many fine-art images as well. I offer a bit of different retouching style than many others, I seek realism and not perfection.
OK, enough about me. Let’s talk about the images.
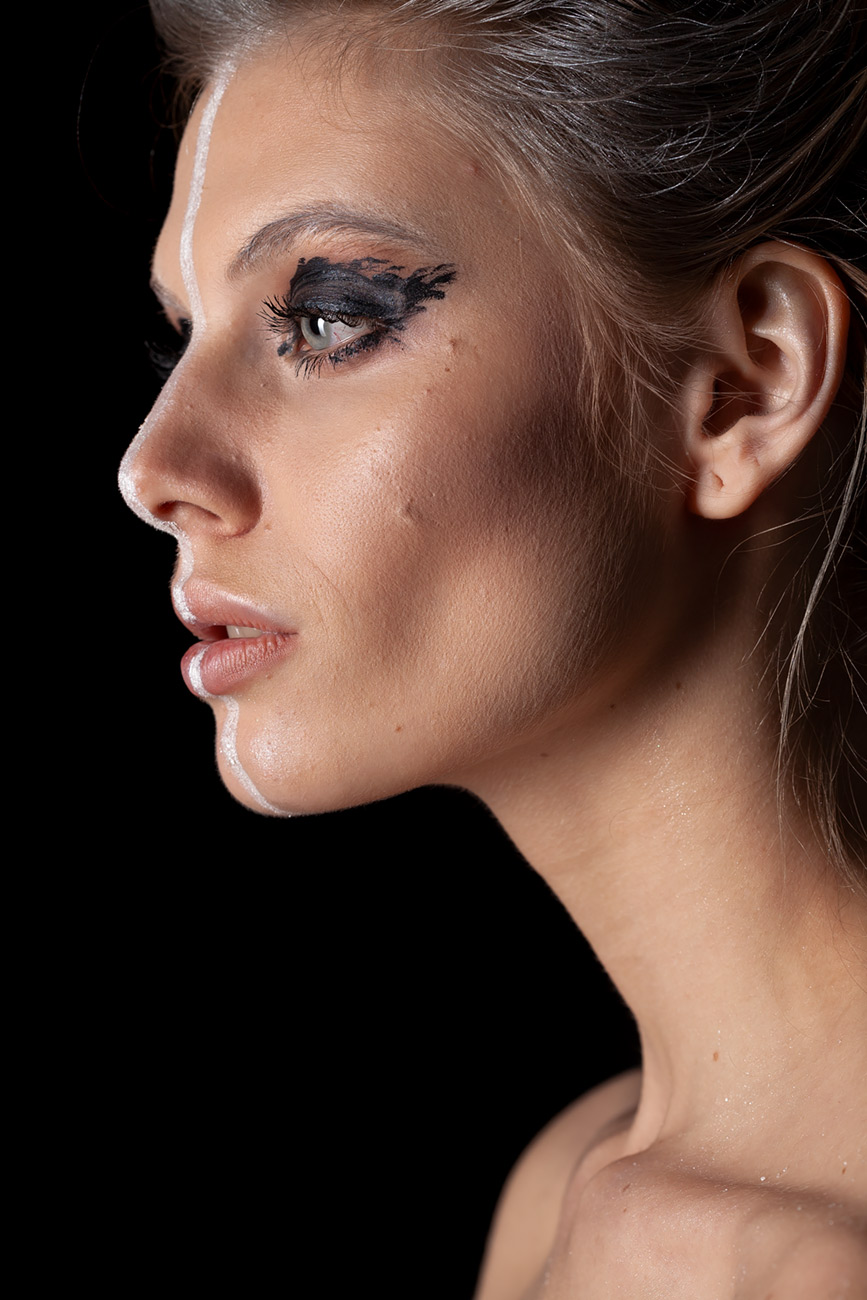
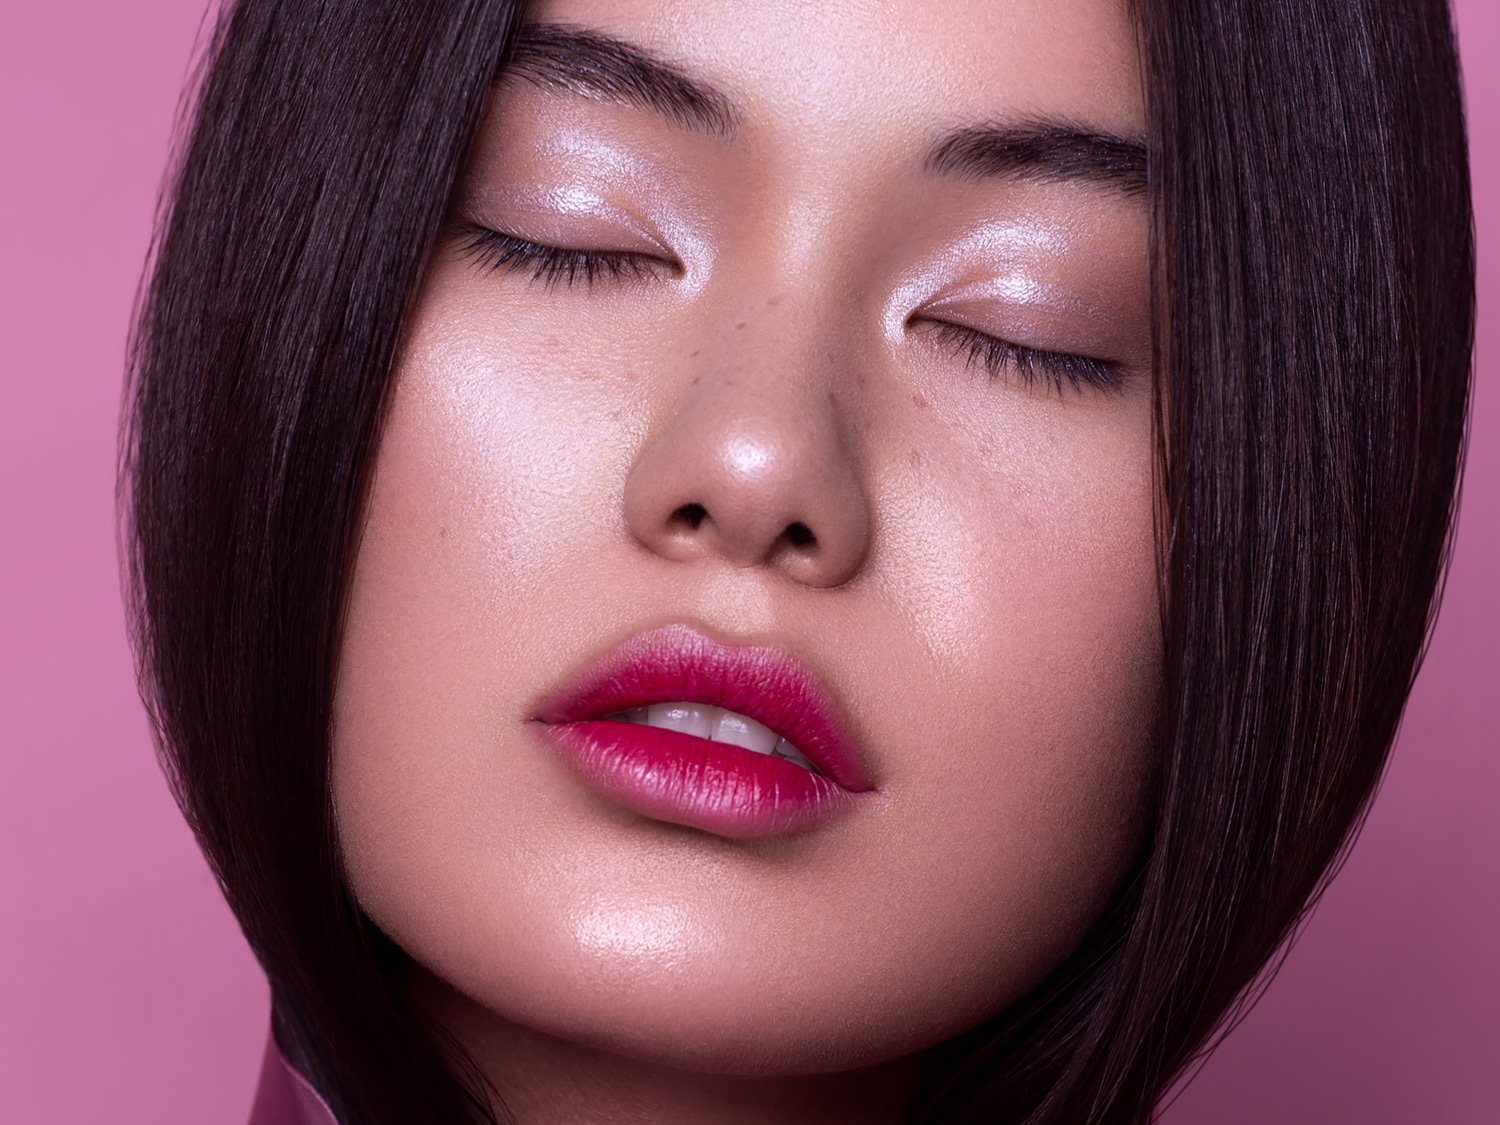
Image number 1 – side profile girl

This image was quite challenging. I wasn’t sure what the idea behind it was, having no input from any member of the team, so I decided to take matters in my own hands and retouch it as it would be my own shot.
I decided to leave make-up as is, not being sure what the idea behind it was either.
There was a considerable amount of hair work, mostly removing hair that caught the light. Skin was not bad, but wasn’t perfect either.
As always, my goal was not to make the skin or hair perfect, but healthy and natural looking. Whether I succeeded or not, I leave to you to decide. I’m not a big fan of plastic looking skin, but I am only human and sometimes I go too far as well.
I’ve decided to extend the cheek shadow a bit further towards the ear, because I thought that it would naturally be there, if there were no bright hair covering it.
Other than that, I just followed my usual workflow (which I described in detail on my blog, links to articles are bellow), cleaning skin, dodge and burn, exposure correction, colour correction and finally some colour grading.
Here I overlaid the before and after images and added a slider, so you can see how much work was involved.
If you know the name of the photographer for any of the images, please let me know. I would love to give proper credit and send him / her a copy.
Here you can see the before and after of the face to see the changes to the skin.

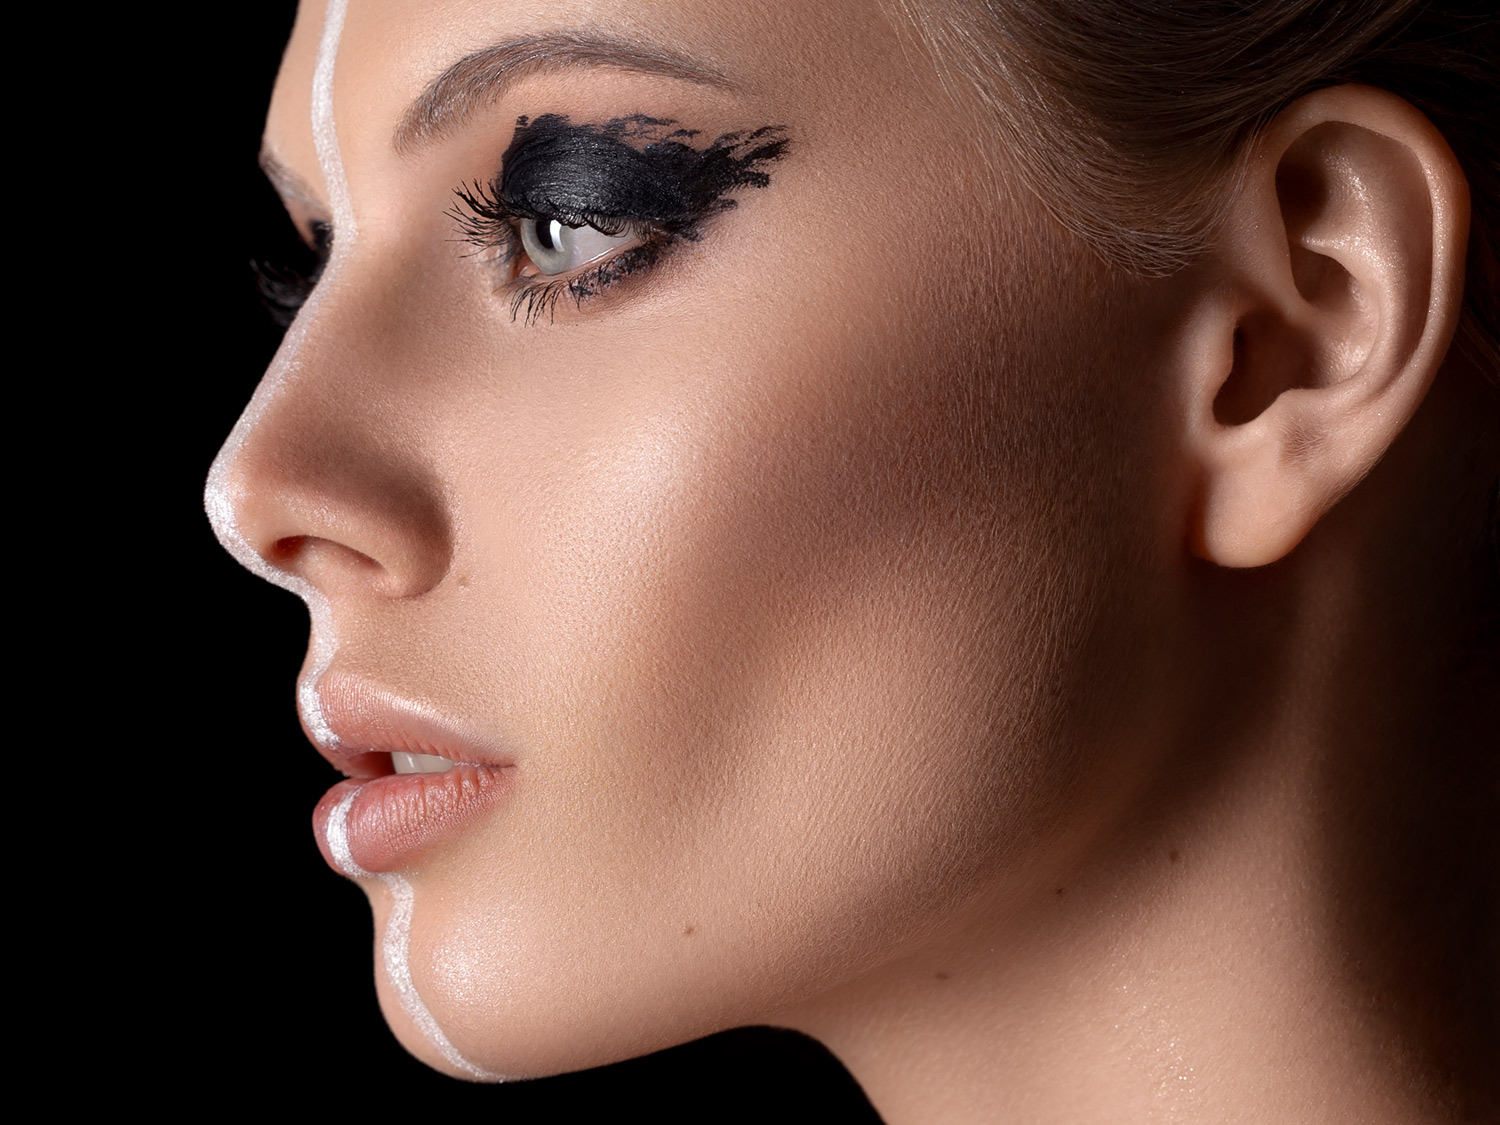
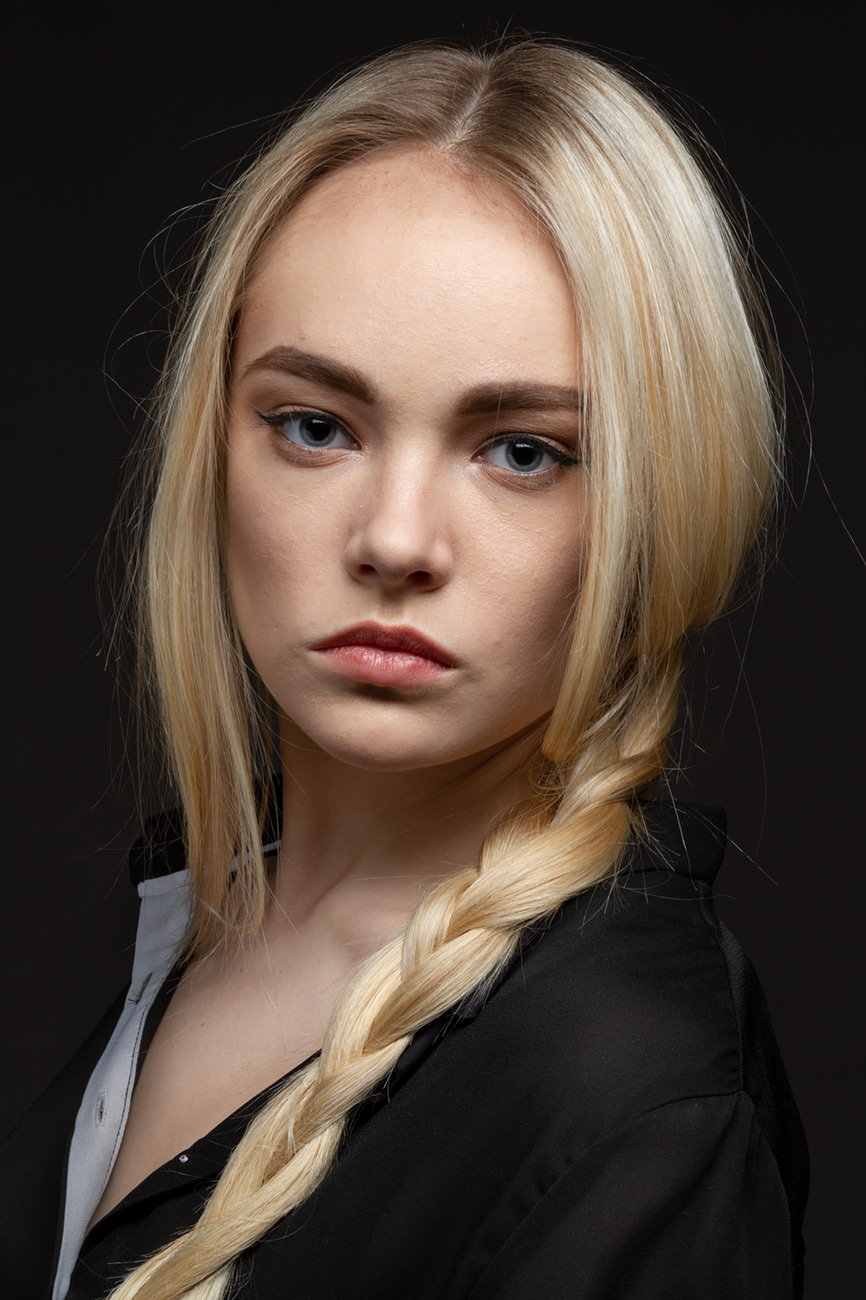
Image 2 – girl with braids

When it comes to image 2, there was also a bit of hair work, mostly removing the stray and flyaway hair. This is always a delicate operation and different people like the hair line to look different, but I found that my clients often want as much flyaways removed as possible.
On the left side, I found a line I liked and removed everything beyond it.
Many retouchers don’t like hair work, but I find it therapeutic. I just switch on an audiobook and keep going.
Overall, the hair work took about 1.5 hours. Some bits were challenging, but nothing crazy, just time-consuming work. I always worry about detail no one would ever notice, but I’m obsessed with leaving no trace of any work. Even if someone zoomed in considerably.
The rest of the image didn’t produce much of a challenge. The skin was fairly OK. I have decided to darken the light part of the shirt and re-done the collar a bit.
Bellow you can see the before and after to see how much was changed.
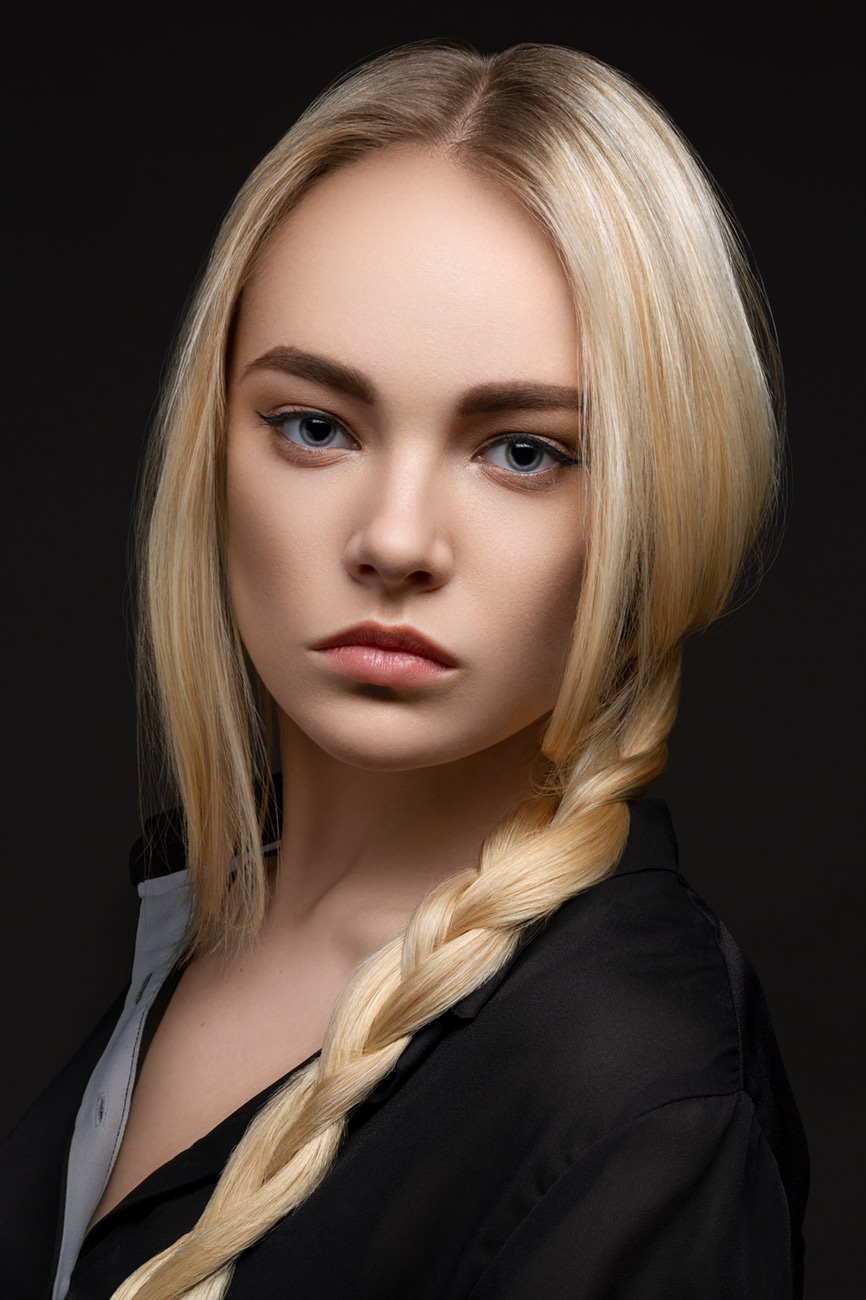
Here is the face close-up to see what changes were made to the skin.
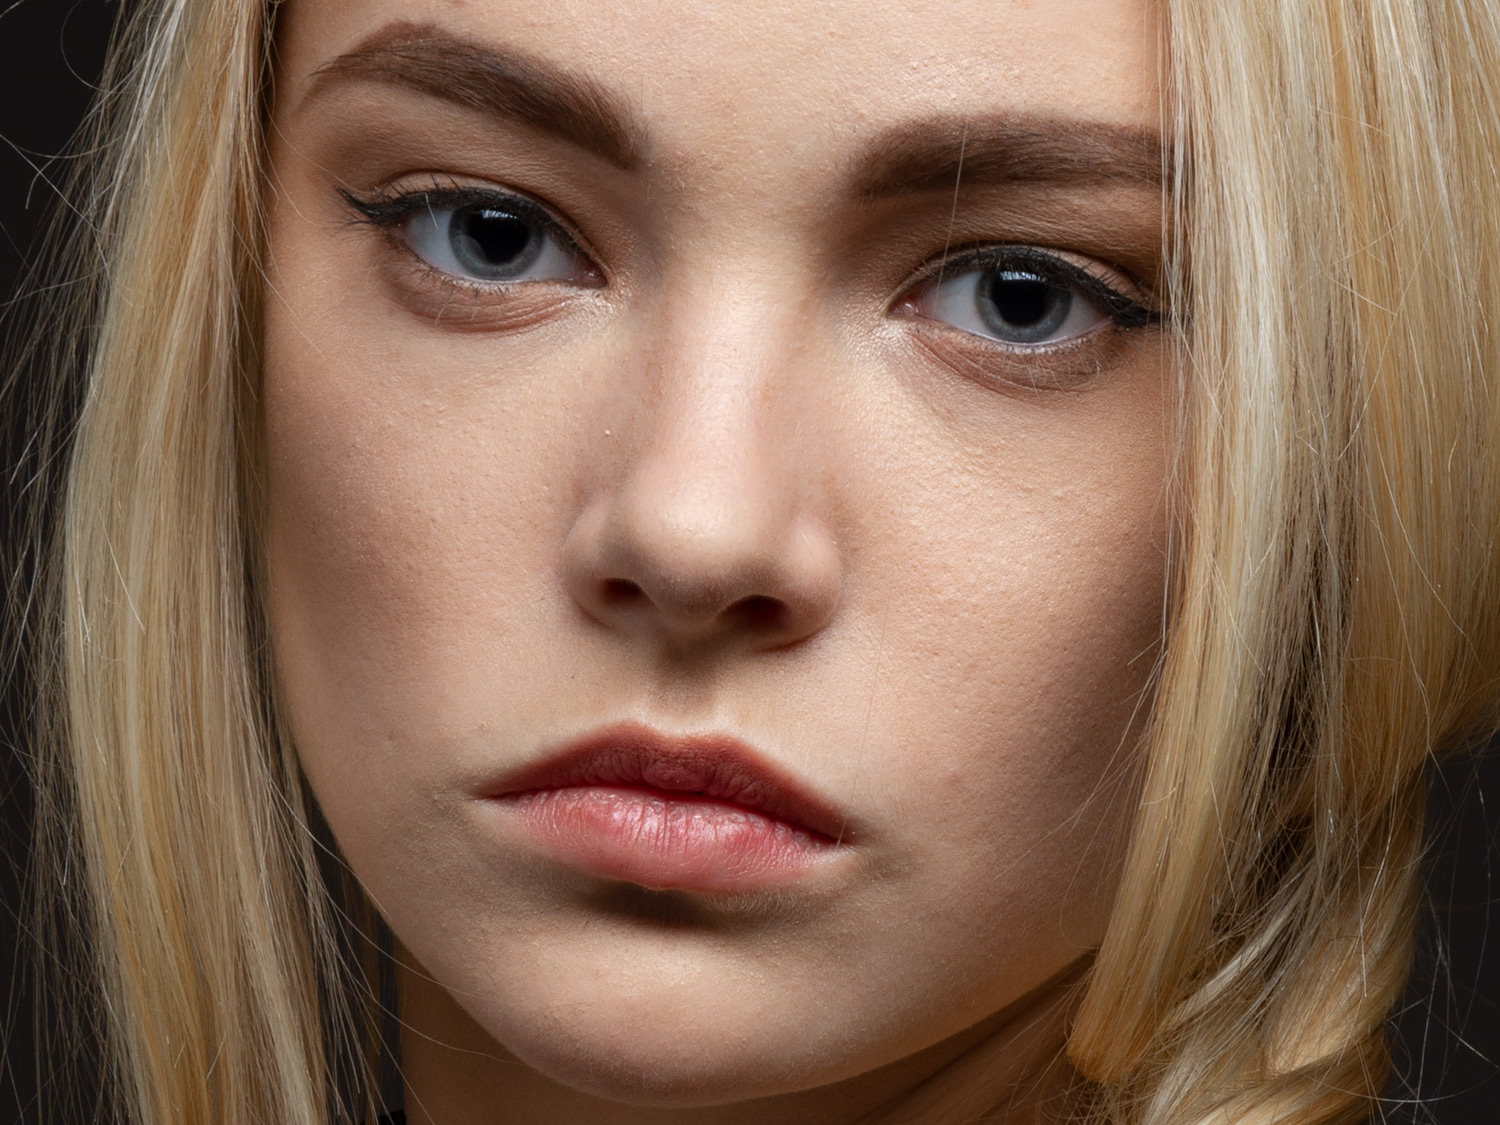
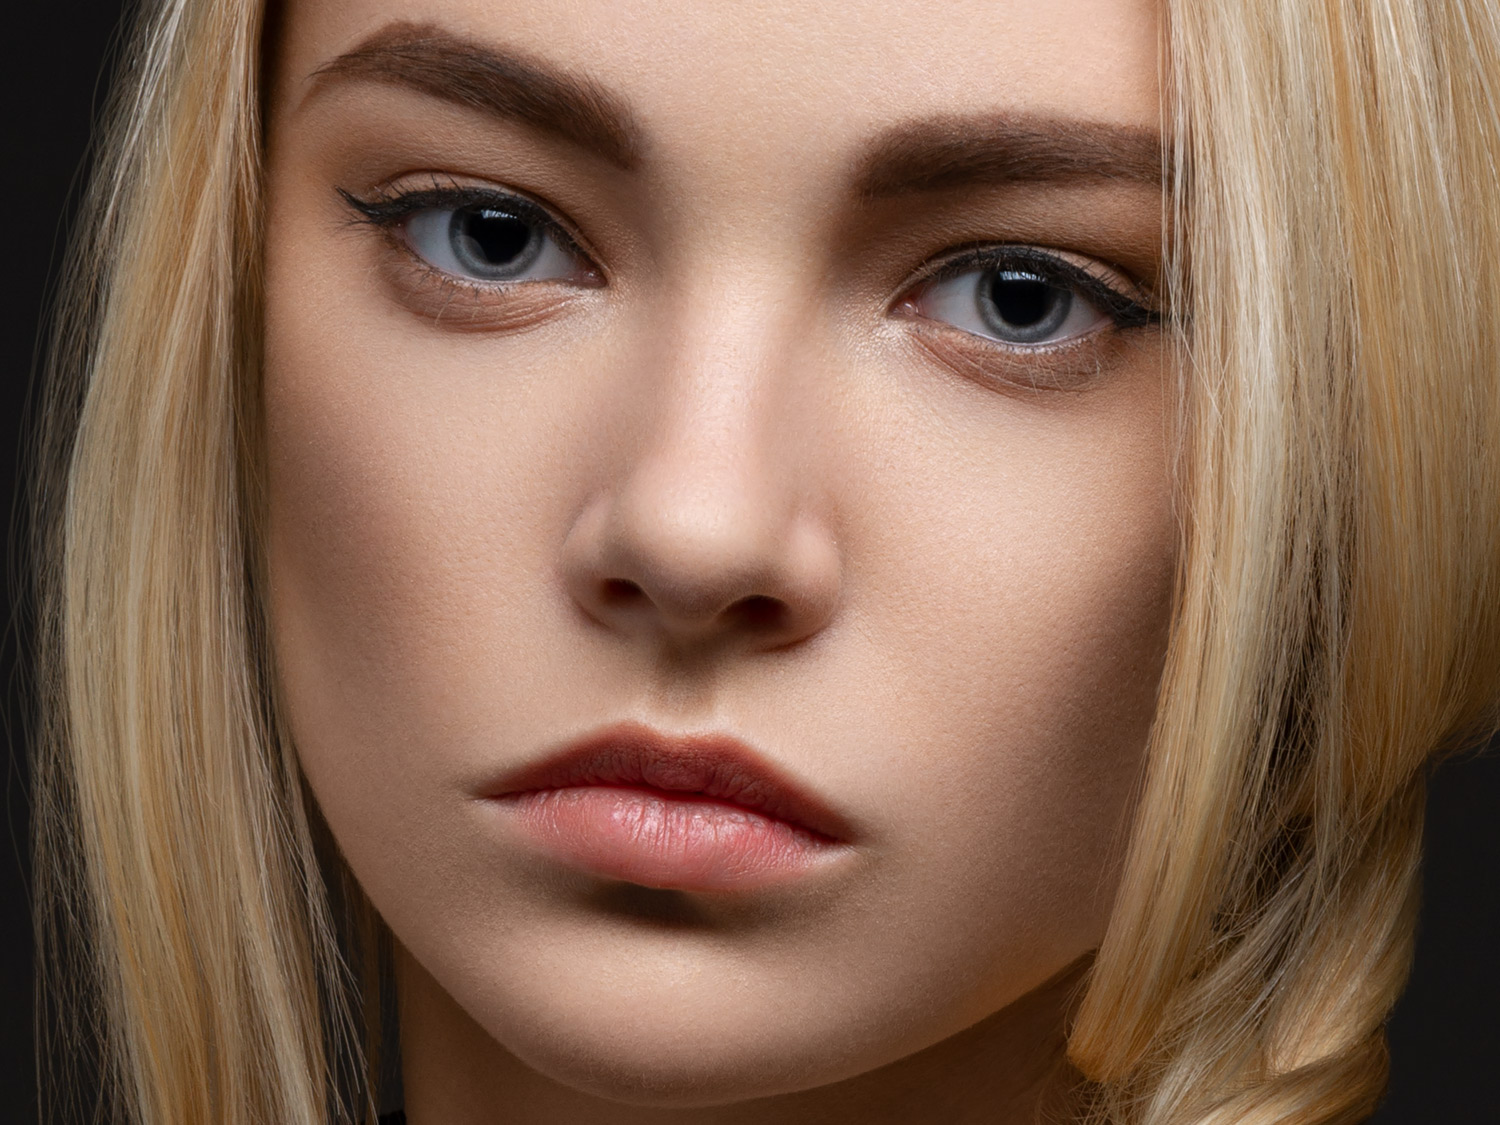
Image 3 – purple lady
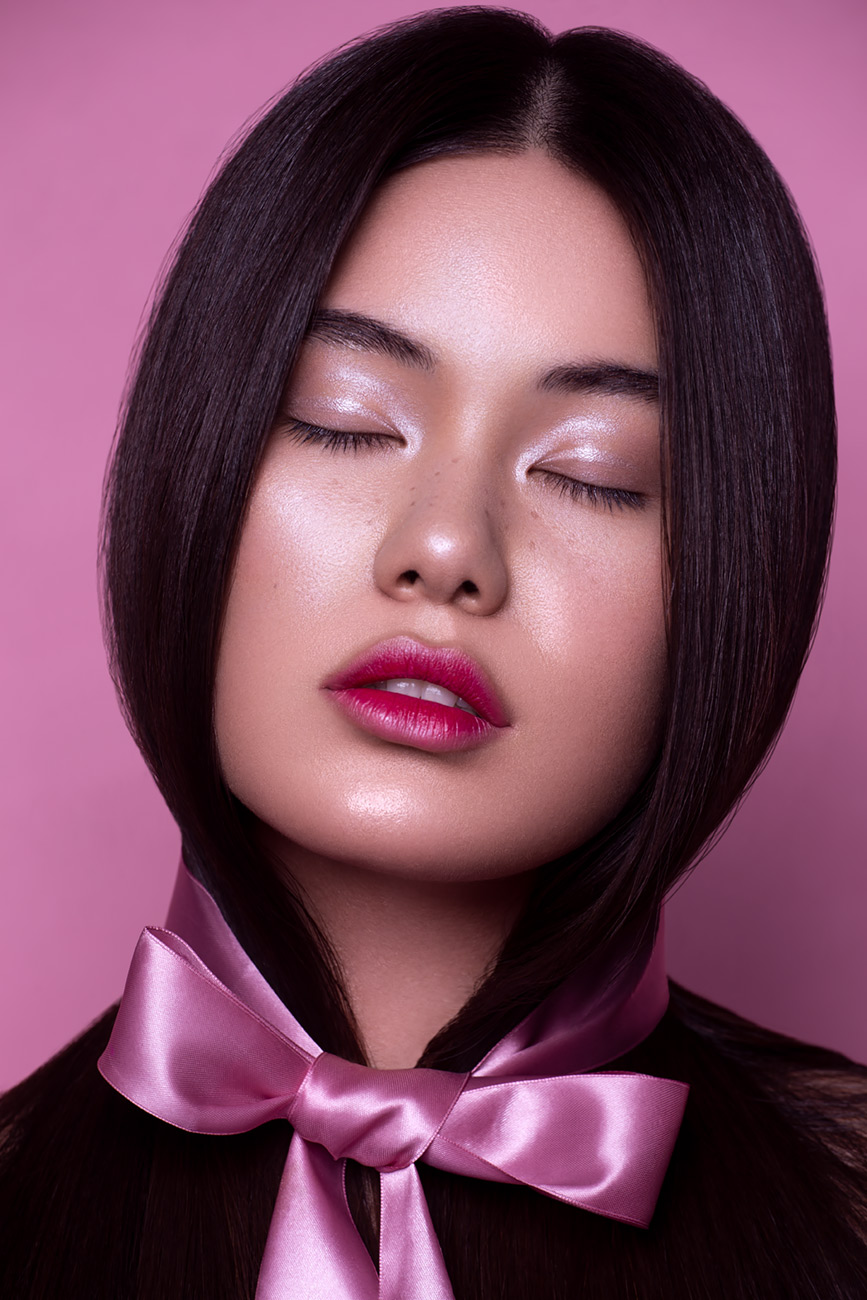
Here the biggest challenge was the skin. The goal was to make it looking nice, but also realistic and not over-done. You can be the judge whether I succeeded or not.
The was a bit of work with hair too. Removing all the flyaways and creating a nice hairline also took some time.
Other than that, I have followed my usual workflow – cleaning, dodge and burn, exposure work, colour corrections and colour grading.
Overall, I think this was the most challenging from the three images, simply because of the skin work.
You can see for yourself how much work was involved, here is the before / after.

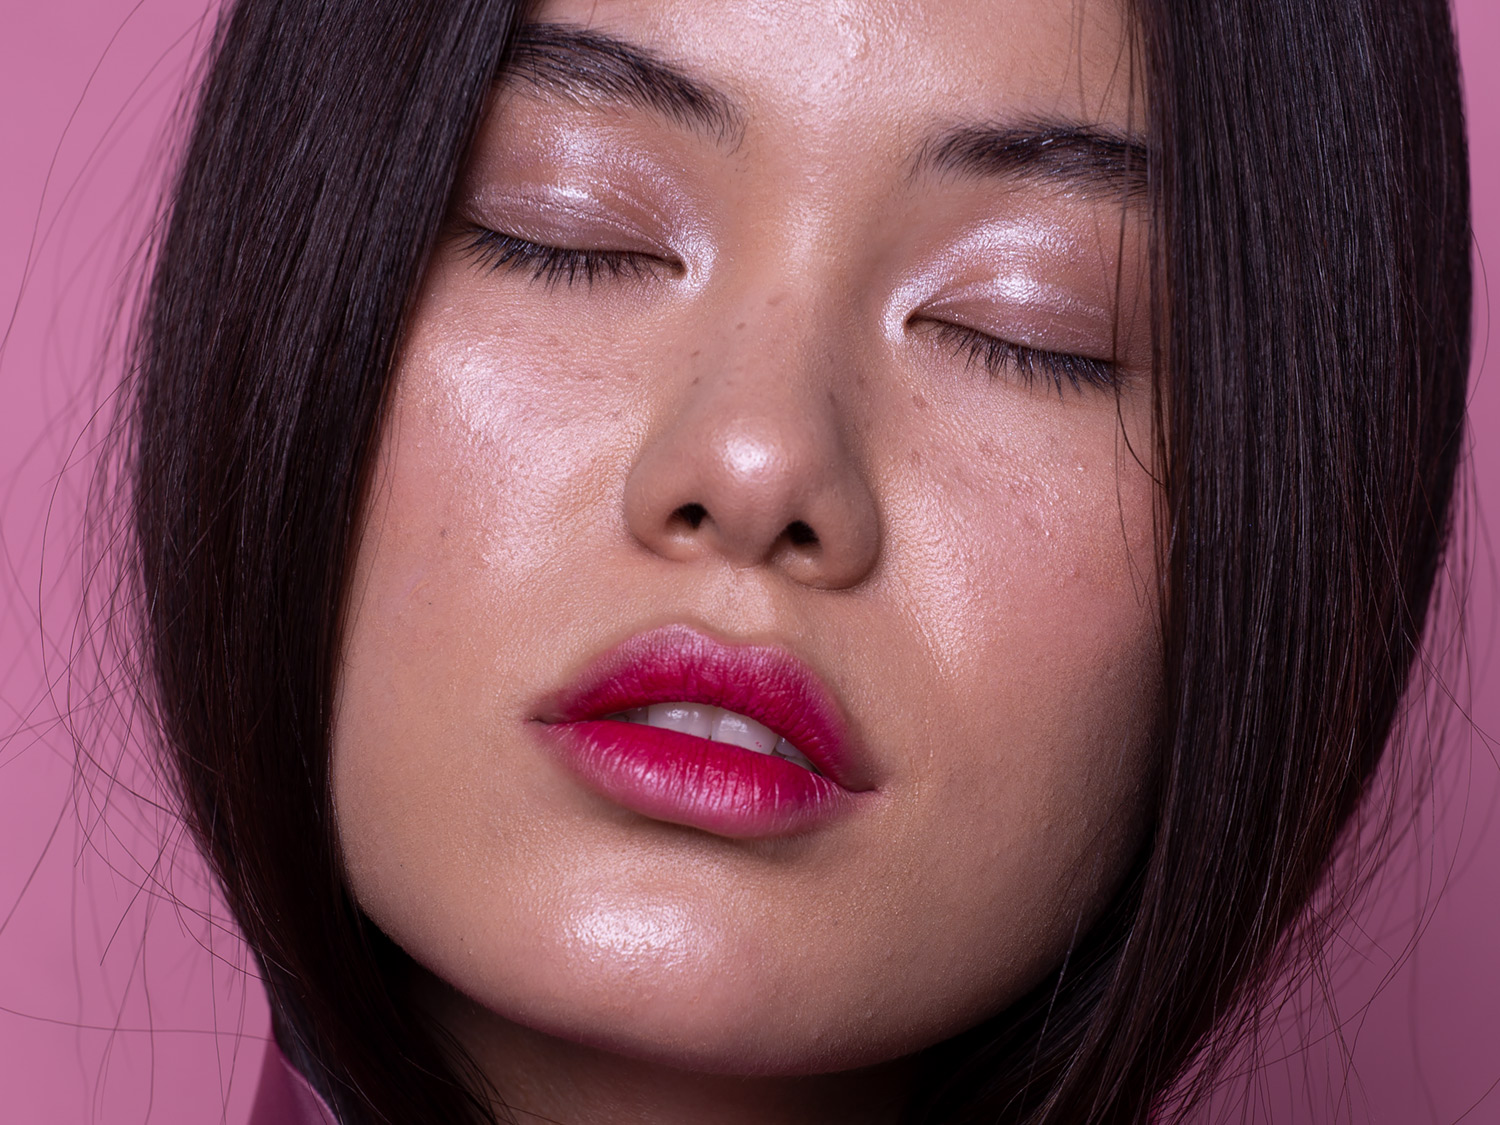
And also the face close-up to see the detail clearly.
Ad Retouch Studio is a photo retouching studio specialising in high end commercial and artistic retouching. We work with top photographers and agencies around the world to provide beautiful images that end up on cover of magazines, in competitions and awards, on product boxes, social media, advertising campaigns, etc. We have many years of photo retouching experience and are super focused on the quality of our work. If you would like to see more of our work, please visit our portfolio pages:
– hair retouching portfolio
– beauty retouching portfolio
– fashion retouching portfolio
– fine art retouching portfolio
Here are links to my skin retouching workflow articles:
Part 1 – My Skin Retouching Workflow Explained
Part 2 – My Skin Retouching Workflow Explained some more
Part 3 – My Skin Retouching Workflow – Working With RAW
Part 4 – My Skin Retouching Workflow – Luminosity and Exposure
Part 5 – My Skin Retouching Workflow – Curves Tool – Why is it important?
About the author
Adrian Alexander is a senior retoucher and founder of Ad Retouch Studio – photo retouching and post production studio. His first contact with Photoshop was in the 90s, but he found his true love of editing photographs during his photography years, which started when he purchased his first dSLR camera in January 2009. These days he is concentrated on his retouching business, finds pleasure in teaching, but his true love is still improving photos in Photoshop.
this very high skills and informative post thank for sharing
Thank you!
Great article! I really enjoyed reading it. Your explanation of how small retouching changes can improve a photo is clear and helpful. Thanks for sharing your knowledge!
Thank you!