I get that question a lot: “How do I retouch skin to make it look good?”. This is actually quite a broad question, but when I thought about it some more and distilled my workflow to bare essentials, it turned out there are only two basic steps to skin retouching. I will call them: clean and transform.
I need to warn you however, Dear Reader. There are no magic Photoshop buttons to do all the work for you. (At least I don’t know of any. If you do, please tell me in the comments bellow, I would love to start using them straight away.) It is all about sweat and few tears too. It is all about patience and practice. Long hours in front of computer and lots of practice. If you are looking for a magic shortcuts, then I will have to disappoint you and warn you that you will be wasting your time if you continue to read this article.
OK, now that we have the hard part over and done with, let’s continue of our quest to good skin retouching. I should also probably mention that within these two steps there more steps. It’s like a pyramid or a triangle. The lower you go (from the top) the more there is to it, the broader it gets. But let’s not get ahead of ourselves and also let not complicate the subject further and keep it nice and simple.
Let me explain these two steps for skin retouching in more detail.
Step 1 of skin retouching workflow: Clean
Think about this step as a base. Foundation on which you will be building the rest of your edit. This is really the first thing I do with any image which requires skin retouching. I create a new layer and go around the image removing all big and small distractions. When it comes to skin retouching these distractions usually are:
- bad texture,
- any unwanted marks or hair,
- dirt or bad makeup.
Cleaning – why?
The whole idea behind this step is to remove everything which stops the eye of the viewer from gracefully gliding around the image. The goal here is to remove all, or at least most, unwanted distractions from image. We need to remember here the golden rules, like “the less is more” or “simplicity is the ultimate sophistication”. Make the image simple, let the viewer’s eye gracefully glide around the image without stopping on unwanted detail.
Of course, here just as anywhere else, there are limits. The keyword here is “unwanted”. I am not saying all detail is bad. Quite the opposite actually. Detail is very important, but the right kind of detail. We definitely don’t want to remove everything. We want to remove just enough to make the skin look smooth and healthy. It’s not about making the skin look perfect either. That is a common misconception. If we make it look perfect, it will look unnatural or plastic. Skin is not perfect in real life, we all have skin texture, we all have some skin marks, we all have things that make us who we are. If you want the end product to look like the same person that was standing in front of the camera in the first place, you need to keep those things in.
Cleaning – how?
Let’s talk about specific techniques for a moment. There are so many ways to remove detail in Adobe Photoshop and Adobe Lightroom, that we could create a whole separate chapter about just those. I will concentrate here on the things I use. The tools that I use the most for cleaning skin (and not only) are:
- Healing Brush Tool (HBT),
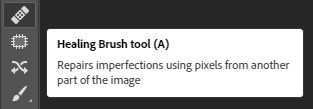
- Clone Stamp Tool (CST).
I won’t go into too much detail here on how I use them, because these are basic Photoshop tools and there are so many videos and tutorials about how to use them already, that I would be just repeating what others have said hundreds of times before. I will, however, say, that I use them interchangeably. What I mean by that is I switch between them while I work. I have created a set of keyboard shortcuts for myself and both of these tools are next to each other on my keyboard allowing me to quickly switch between them.
As a general rule, I use CST whenever I cannot use HBT. As we know healing brush tool is not the greatest when it comes to working close to edges (there are ways around that too by the way, but that is a subject for a different articel). If HBT is giving me problems, I switch to clone stamp tool. Both of these tools have their own pro’s and con’s and the best advice here really is just to keep using them to master them.
Some tips
The way I usually work in this step is I zoom out the image and look for distractions, things that catch my eye while I look around the image. When I find one, I zoom in and using either of these tools, I remove it. I, then, zoom out again and look for another distraction and remove it. I continue to do so until I remove all the unwanted distractions from the image. It can take 5 min or it can take an hour. It depends on the final goal for the image, its complexity and amount of unwanted distractions to remove.
In this step I also fix broken skin texture. I do it using the two tools mentioned above. If HBT creates problems, I switch to CST.
The pro tip for using both of these tools is to learn where to sample from. This will make the difference between an OK result and result that someone won’t be able to tell that anything was changed / removed. Also while removing specific detail, it is often easier to do it while zoomed in.
And that’s the step one in the nutshell: keep going until everything that shouldn’t be there is not there any more.
Step 2 of skin retouching workflow: Transform

Transform or improve. This is the step that makes the biggest visual difference to the overall look of the skin. The tool, or should I say – technique, which I use for this step is called Dodge and Burn. You might or might not have heard about this technique before. If you did not, please look it up. I won’t be explaining here how I use the technique in a great detail (I might do that in future), but mostly why I use it.
Dodge and burn, which I will call DB, is actually a very old technique, dating from way before Photoshop was invented. It was used during photo development process, where a technician would darken or lighten specific part of the image for many different reasons using physical tools like flags for example. I won’t really go deeply into the history of this technique, but I just want to mention about it quickly to help me illustrate the point. Photoshop DB is essentially the same, lightening and darkening part of the image (in our case – skin), to achieve a desired effect.
Dodge and burn – how?
Now that we know what it is, let’s talk about how I use it. There are a couple of different ways to go about it, but I use the curve method mostly. I create a couple of curves layers – one to lighten, one to darken – and reveal them strategically using their masks. To put it into plain words, I paint the masks of each of these curves layers individually using white brush to reveal the curves content where I want, to lighten and to darken specific part of the image / skin. I set the brush Flow setting to 1 or 2 to avoid revealing too much of the mask too quickly. It is a slow process and I do it gradually and carefully.

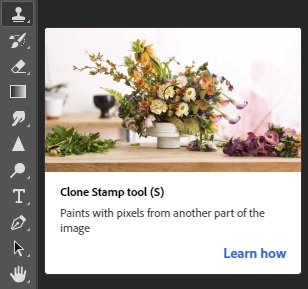
Wacom tablet, or any good graphics tablet for that matter, will save you hours and lots of frustration. As a fun fact I can mention here, that I have started with this technique using computer mouse, but I quickly invested in a Wacom tablet and I have never looked back. This is my tablet, or at least how it looked a few years back. I still use it every day to this day.
Dodge and burn – why?
OK, let’s go back to DB. The goal here is to create smooth transitions between light and shadow part of the skin. If these transitions are not smooth, it will look more like a sharp edge and when it comes to skin, we want to end up with smooth and healthy-looking skin. Of course, like always, there are exceptions to the smooth transition rule. Everything depends on the image itself and lighting. If hard lighting was used in the photograph, the transition between dark and light part will be hard too (transition will be quite narrow). If I was to sum up the goal of dodge and burn technique in one sentence, it would be this: the goal is to make smooth transitions between light and shadow parts of the skin.
As a side note. If you want to understand retouching more, you need to also understand photography. Photography is all about lighting (“photography” in loose translation means painting with light), therefore you need to learn about lighting too… but I digress.
Going back to DB technique, I use it both, zoomed in and zoomed out. Same as before I start with the image zoomed out and I zoom in to work on a smaller detail. There are a numerous videos about the process, so I don’t want to repeat what already been said. Again, as in step one, I do it until I am satisfied with the outcome.
Some tips
Three tips for people who are starting out with this technique:
- Practice as much as possible. It takes time to master, but I promise you, the more you do it, the better the results will be.
- Zoom out a lot, otherwise you might be wasting time working on fine detail which really does not matter that much to the overall image.
- If you go too far, put both of the curves layers into a separate folder and reduce the opacity until you get what you want. We want to keep the realism. We don’t want plastic looking skin.
I also use two additional layers, I call them helper layers. First one to turn the image into black and white, to reduce the whole image to just exposure values. As I mentioned the idea here is to lighten and darken image / skin, so we are removing colour and distilling the images to its core light / dark values. Second helper layer I create is to help me to see the skin inconsistencies. I create a layer which helps me to darken or lighten the whole image globally to see into the lighter and darker parts of the image more easily.
And that’s it folks… and some tips
And that is it really. I use these two basic steps, clean and transform, every time on every image which requires skin retouching until I am satisfied with the result.
Additional tip I can also mention is that I have created an action for myself (Photoshop action) to speed up my workflow and to prevent me from having to create all four DB layers from scratch on every image.
Another very important point, and this is directed at photographers, is to always try to book models with good skin in the first place. Not only will it save you hours in Photoshop, but it will also provide much better base to build on your edit. This is so important. The better the starting point, the more can be done. Have you ever seen a beautiful photo with flawless skin and you were wondering how was it done? Well, the first step was to book a model with good skin.
Please remember retouching is there to improve the photo, not to fix it. This is a common misconception. If you have a model with poor skin, you or your retoucher will spend hours fixing the skin in Photoshop. After that it rarely looks good anyway, it often looks overdone already, because so much work was done to bring it back to the level it should be in the first place. You cannot then improve on it any more. It already looks overdone, any more work will make it look even worse. If you have a good skin to begin with however, things are different. You can improve the skin to the point it looks natural, smooth and healthy. If you take away only one thing from this article, please let it be this one. This is so important.
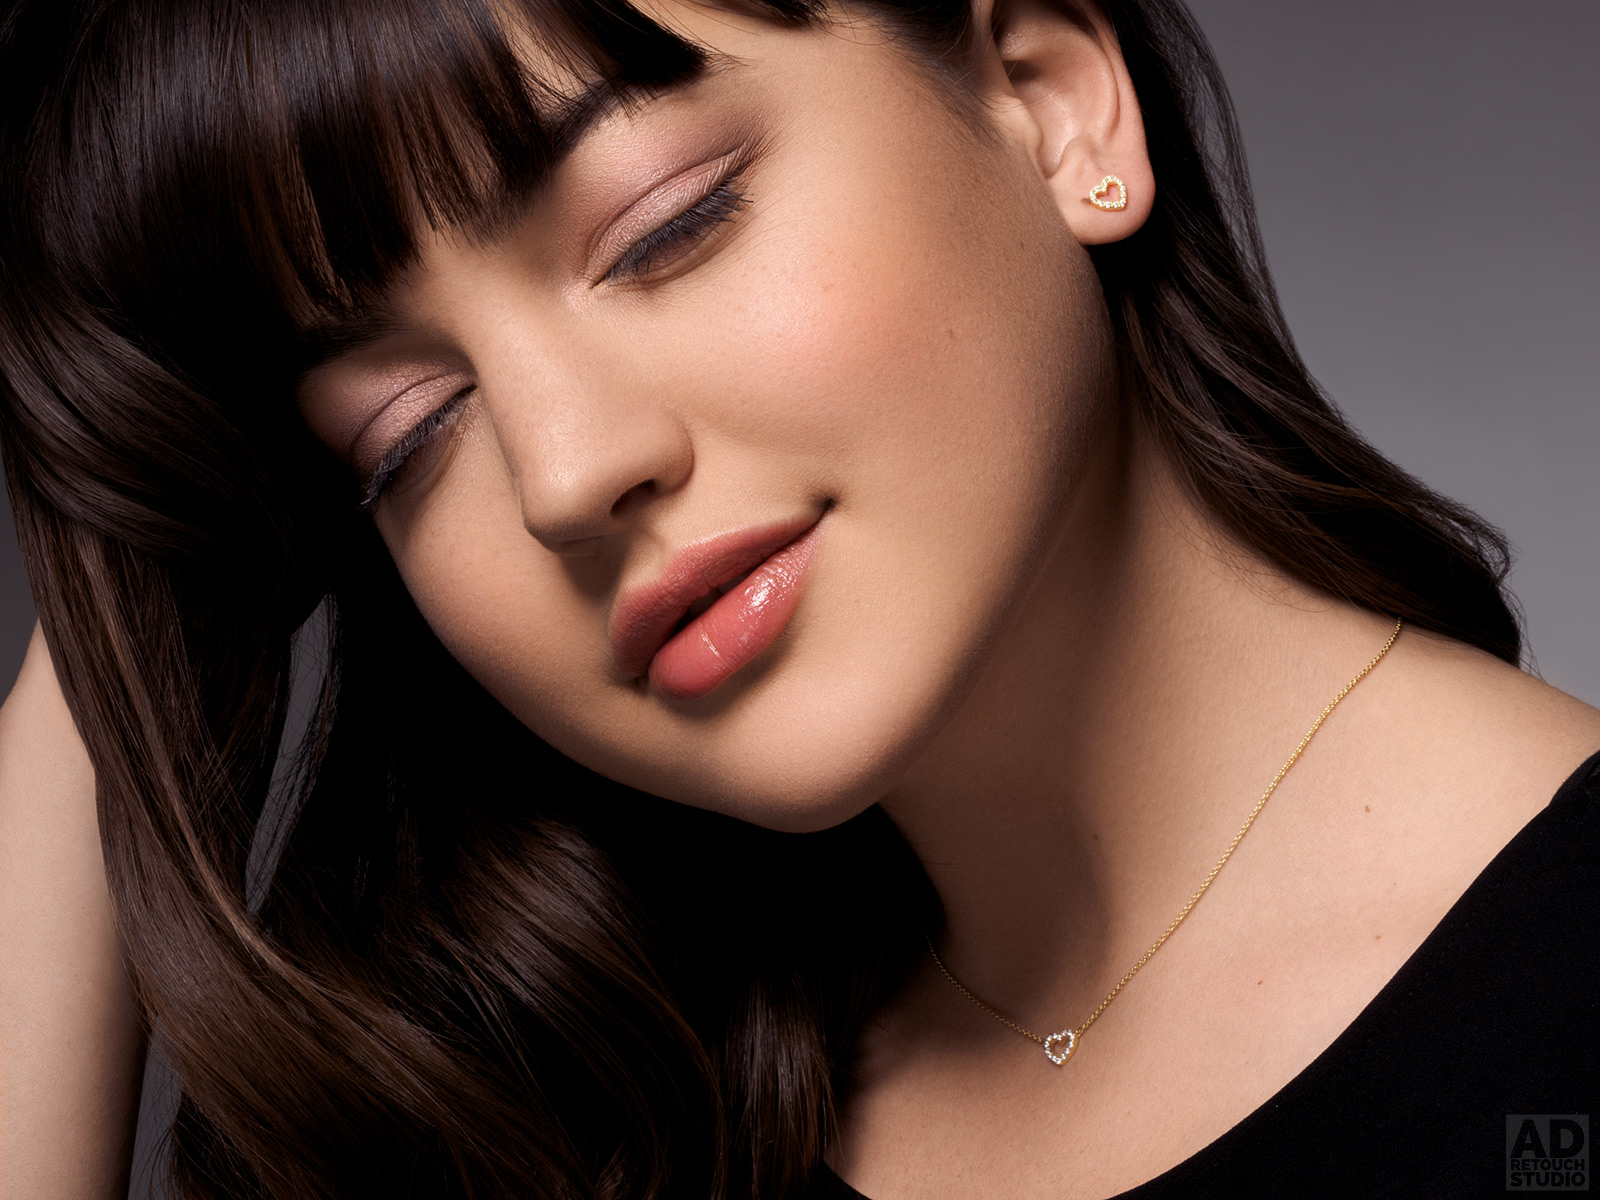
We even have an example
As an example, I can show you this photo. Model’s skin was beautiful straight out of the camera. I was then able to improve a bit more to make it look smooth and natural. In my opinion, this is the kind of skin, you, as a photographer, want to have in your portfolio.
Summary
To sum up. I split the skin retouching work into two steps, cleaning step and transforming step. That is the way I start pretty much every skin retouching job. There are many tools and techniques we can use to achieve good results in each of these steps, but the ones I use the most are: healing brush tool and clone stamp tool during the cleaning stage and dodge and burn technique for skin smoothing.
Of course, there is also the subject of colour in skin retouching, which I have not mentioned here at all as it is a large topic and would require a separate article to explain the steps in detail.
I hope this was helpful to some of you and I hope it will help you, Dear Reader, to understand how I go about skin retouching. If you have any questions or if you found this article interesting and would like more content like that, please let me know in the comments bellow (you can even mention what would you like me to write about). Please excuse the raw format of the text above, I am better at visuals than writing. Please also excuse the chaotic layout. I wanted to cram as much information into this one article and I’m not sure if that was a good idea. Anyway, I would like to thank you, Dear Reader, for getting this far.
Edit: Listening to the feedback I received, I will be working on part two for this article. It will be a little bit more in-depth, plus it will have some visual examples of how I do my skin retouching. If you are interested, please come back soon. The status of Part 2 is “work in progress” at the moment. Thank you all for your feedback.
Adrian
Edit 2: you can find part 2 if you click on this link.
Here are all the parts:
Part 1 – My Skin Retouching Workflow Explained
Part 2 – My Skin Retouching Workflow Explained some more
Part 3 – My Skin Retouching Workflow – Working With RAW
Part 4 – My Skin Retouching Workflow – Luminosity and Exposure
Part 5 – My Skin Retouching Workflow – Curves Tool – Why is it important?
Part 6 – My Skin Retouch Workflow – Introduction to colour
Part 7 – My Skin Retouching Workflow – How to fix fingernails in Photoshop
Part 8 – My Skin Retouching Workflow – Simplify the image – remove distractions
If you would like to buy me a coffee, please use the link bellow. Thank you!
About the author
Adrian Alexander is a senior retoucher and founder of Ad Retouch Studio, photo retouching and post production studio based in UK. His first contact with Photoshop was in the 90s, but he found his true love of editing photographs during his photography years, which started when he purchased his first dSLR camera in 2009. These days he is solely concentrating on his retouching business, finds pleasure in teaching, but his true love is still improving photos in Photoshop.
Thank you for explaining these techniques! This is so helpful.
I am really glad it was helpful to you, Jennifer. Thank you for your comment.
Adrian
Ad Retouch Studio
This is the fourth time I’ve read this post, but every time I try to apply dodge and burn myself, people say I’m overdoing it. It’s driving me crazy.
It takes practice. Dodge and burn is just a technique. Apart from that you need to train your eye to know when to stop. It’s not easy, it takes time, so you just need to keep at it and one day it will all click in place.