I find that often in shoots nails get overlooked. I had to fix many fingernails in my career. Here is how I usually work with them.
The goal:
My goal here is to fix the nails, but keep the overall realism. I don’t want them to look perfect, I just want them to look better, but still real. Realism is more important than perfection in my opinion.
Method 1 (more accurate, slower):
Tools I use:
- clone stamp,
- healing brush
Most important is to learn where to sample from. I look for a patch of nail that has a similar luminosity and colour to the bit I want to fix. Then with clone stamp tool, using low flow (10-30%), I go over the problematic bit a few times, building it up, so that it looks just right.
Most work is done with Clone Stamp Tool. I use Healing Brush just to copy over texture or even out the surface.
Working mostly zoomed in to see the detail, but zooming out on regular basis to see how it looks from afar.
Method 2 (faster, more efficient):
Cut the good part of the nail out using pen tool to a new layer. Extend it using transform tool. Paste it over the bad part and blend it in using a combination of masking, clone stamp and healing brush.
After:
- Use dodge and burn to even out the surface of the nails and fingers.
- Liquify to fix the shape if needed.
Important tips:
- Step away from the image for a few minutes. Then go back and look at it again to asses your work.
- Zoom out often to check how it looks overall.
Disclaimer:
I doubt this is the best or the fastest method to work with bad nails. This is just the way I work with them. If you know a better way and feel like sharing, please do. I love learning.
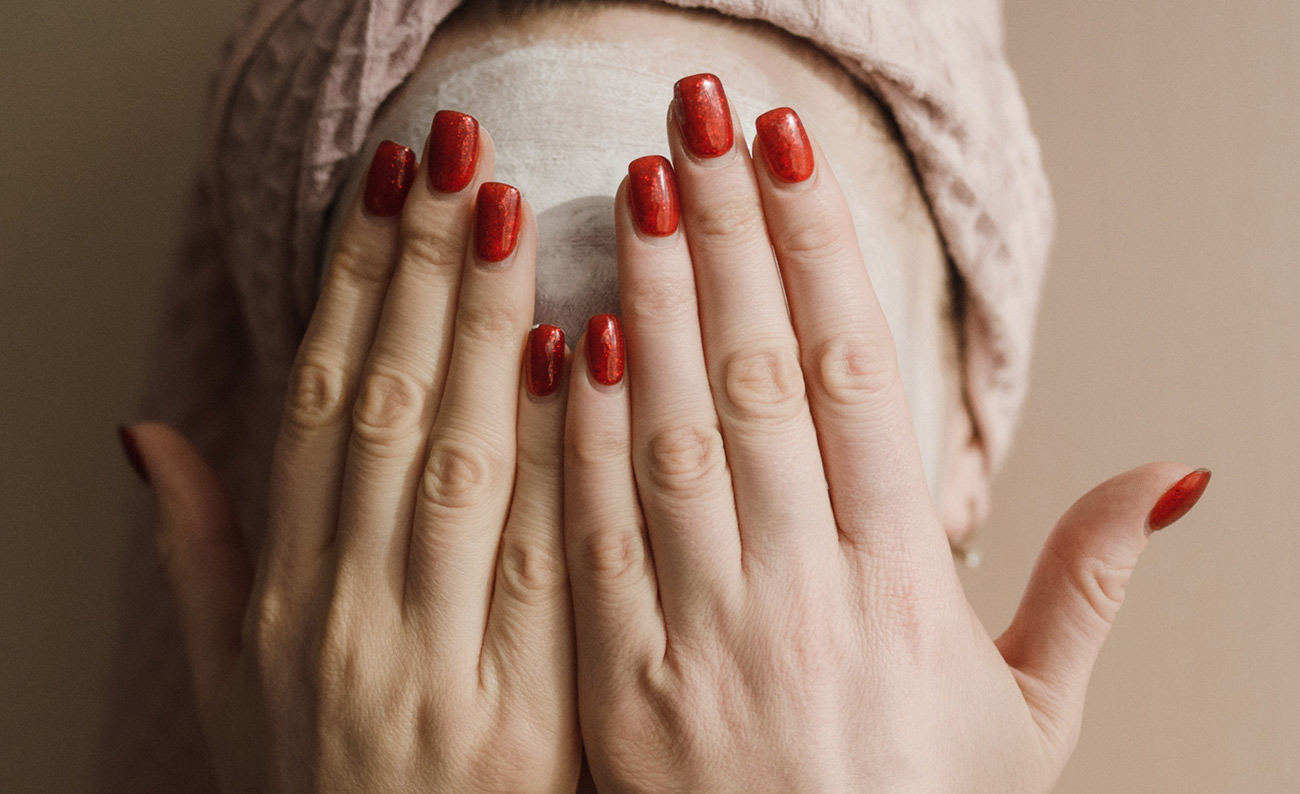
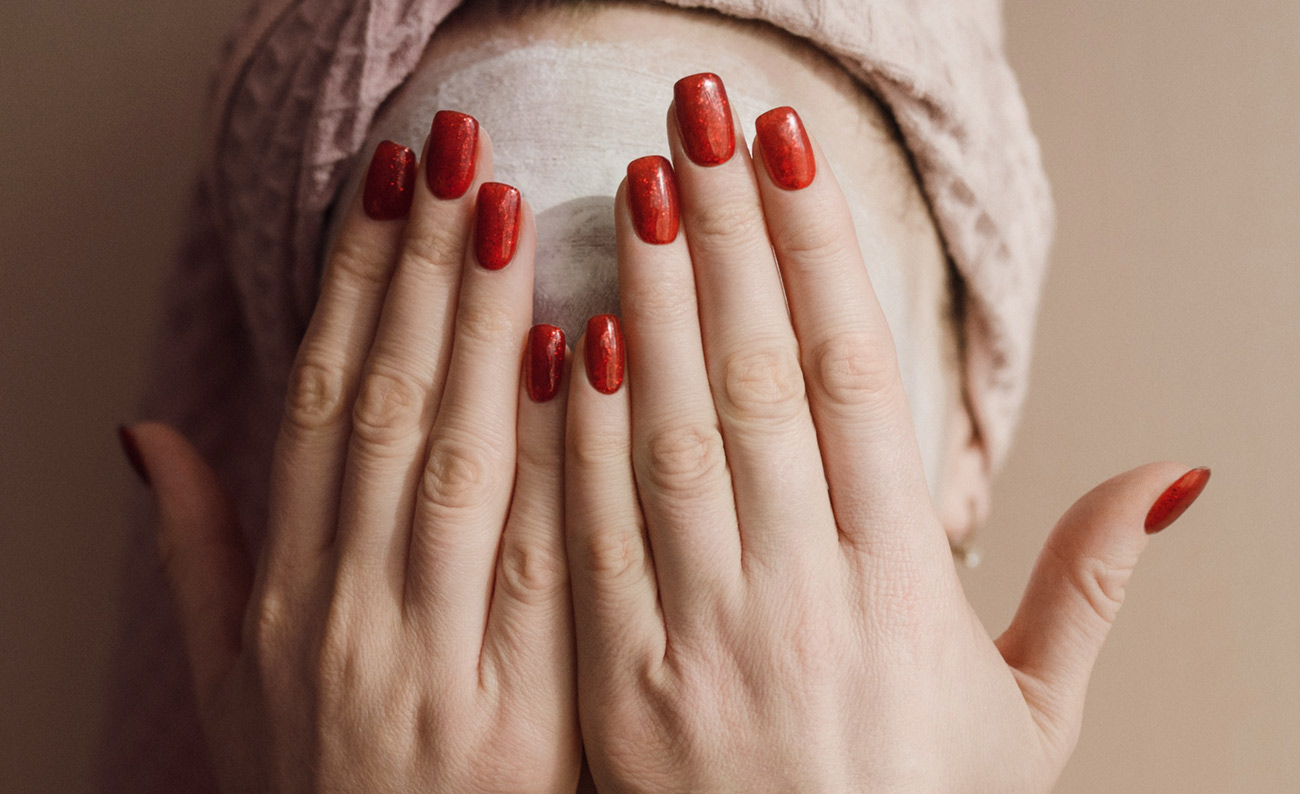
These are just photo examples taken from the net and a quick edit.

Here are links to my skin retouching workflow articles:
Part 1 – My Skin Retouching Workflow Explained
Part 2 – My Skin Retouching Workflow Explained some more
Part 3 – My Skin Retouching Workflow – Working With RAW
Part 4 – My Skin Retouching Workflow – Luminosity and Exposure
Part 5 – My Skin Retouching Workflow – Curves Tool – Why is it important?
Part 6 – My Skin Retouching Workflow – Introduction to Colour
Part 7 – My Skin Retouching Workflow – How to fix fingernails in Photoshop
Part 8 – My Skin Retouching Workflow – Simplify the image – remove distractions
About the author
Adrian Alexander is a senior retoucher and founder of Ad Retouch Studio – photo retouching and post production studio. His first contact with Photoshop was in the 90s, but he found his true love of editing photographs during his photography years, which started when he purchased his first dSLR camera in January 2009. These days he is concentrated on his retouching business, finds pleasure in teaching, but his true love is still improving photos in Photoshop.